Different Braces, One Amazing Smile

Conventional Braces
Uses fun elastic bands & metal brackets to hold the wire against the teeth. This allows for more flexibility to making precise adjustments to your smile. Especially in complex cases like severe crowding, rotations, or bite corrections. This level of control can sometimes lead to more predictable outcomes compared to other braces.

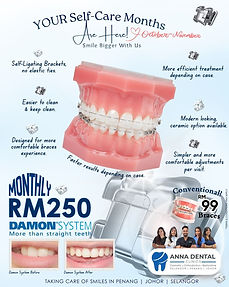
Self-Ligating Braces
One good reason self-ligating braces may be better for you compared to conventional braces is greater comfort and easier cleaning. No elastic bands means less friction and less plaque build-up, which may make these feel smoother in the mouth and easier to keep clean compared to conventional braces.

Ceramic Braces
Are popular because they’re much less visible than metal braces. Their tooth-colored or clear brackets blend in with your teeth, making them a more discreet option for patients who want straighter teeth without drawing too much attention to their braces. Greater comfort & easier cleaning. when compared to conventional braces.

Invisible Braces
Clear Aligners are nearly invisible and discreet, so most people won’t even notice you’re wearing them. You can take them out for meals, brushing, heavy sports and special occasions, making them the most convenient and lifestyle-friendly choice when it comes to braces. No brackets or wires also means this is the most comfortable option.



Which BITE do you have?

Tips on finding your BITE at home!
Step 1: Relax your jaw. Sit upright, gently close your mouth, and let your back teeth touch naturally.
Step 2: Bite normally. Don’t force your teeth together - just bite as you usually would.
Step 3: Look in the mirror. With your teeth closed, use a mirror (or ask someone to help) and compare your teeth with the chart.
Step 4: Check from the front. Do your upper front teeth cover too much or too little of your lower teeth? Are your teeth meeting edge-to-edge or not touching at all?
Step 5: Check from the side. Are your upper teeth sitting slightly in front of the lower ones (normal)? Or are they too far forward/backward, as shown in the chart?
Step 6: Notice any crowding or gaps Look for overlapping, rotated, or spaced teeth.
Step 7: Match your bite to the chart. Compare what you see with the bite types on the chart.
Step 8: Take a photo (optional). Snap a picture of your bite from the front and sides. Sometimes this makes it easier to compare.
Still not sure? Don't worry, our doctors will be able to help you find your bite and provide you with options on how to treat it depending on your desired outcome.


Meet Our Friendly Doctors!